...
The Gaussian filtered data is shown in the Output view plot.
When the Gaussian Filter step is selected the Model view shows that parameters of the processing step that can be altered. For a Gaussian Filter they only parameter is the kernel width. Change the kernel width to 10. The output data will not be updated until you click back onto the Gaussian Filter step (a processing step may take a long time to run, clicking back item in the processing view signifies that all updates to the model are complete and the process should be re-run).
The play/fast-forward buttons can be used to change the input image, which pushes a new frame through the processing chain, changing the output image.
Further steps can be added to this processing chain by repeating the above sequence.
Processing All the Data
Although the processing sequence is currently very simple, it is a complete sequence that can be applied to all the images in the stack (all 1608 different wavelengths). To do this, press the green play button at the top of the Data Slice View.
Pressing this button causes a dialog to appear to allow you to set the directory where the processed data will be written.
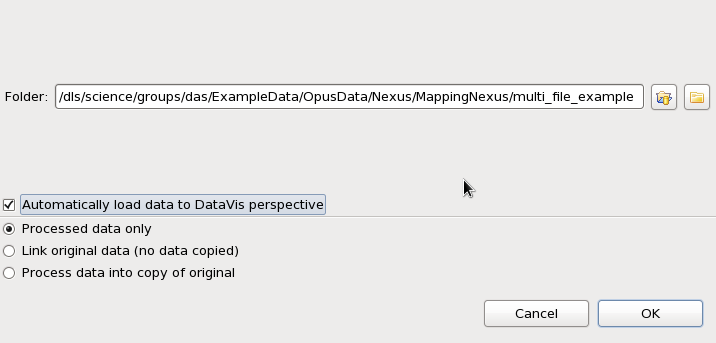
This dialog also gives the option to automatically load the processed data in the DataVis perspective when processing is complete - tick this option.
For NeXus files, three additional options are included on what data is written into the output file:
- Processed data only
- Link original data (a link to the NXentry in the original file is added to the processed file. If the processed file is moved relative to the original data this link may get broken)
- Process data into a copy of the original (the original file is copied and the processed data is added here - may make the files very large. Copying only copies the nxs file, it will not follow links to other linked hdf5 files).
For this case leave Processed data only selected, and when you are happy with the output folder press OK to process the data.
A progress dialog will appear and show which slice of the data is being processed, and which step is being run.
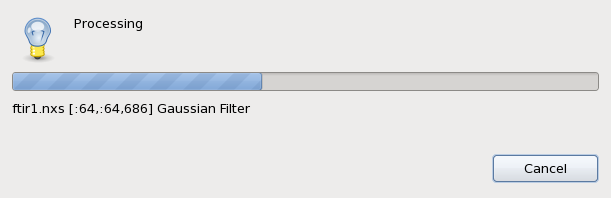
Pressing the Cancel button will stop the processing, but any data that has been processed will still be available in the file.
Switching to DataVis will allow you to view the processed data file, but for now stay in the processing perspective.