...
If there is already data loaded, any new files must have a dataset with the same name as that selected to process, and it must have the same rank (if "dataset1" is a 3D dataset in the loaded file, any subsequently loaded files must have "dataset1" and it must also be 3D).
Processing Data as Images
Download ftir1.nxs from the link above and load it into the processing perspective.
The set up dialog will appear and should look like this:
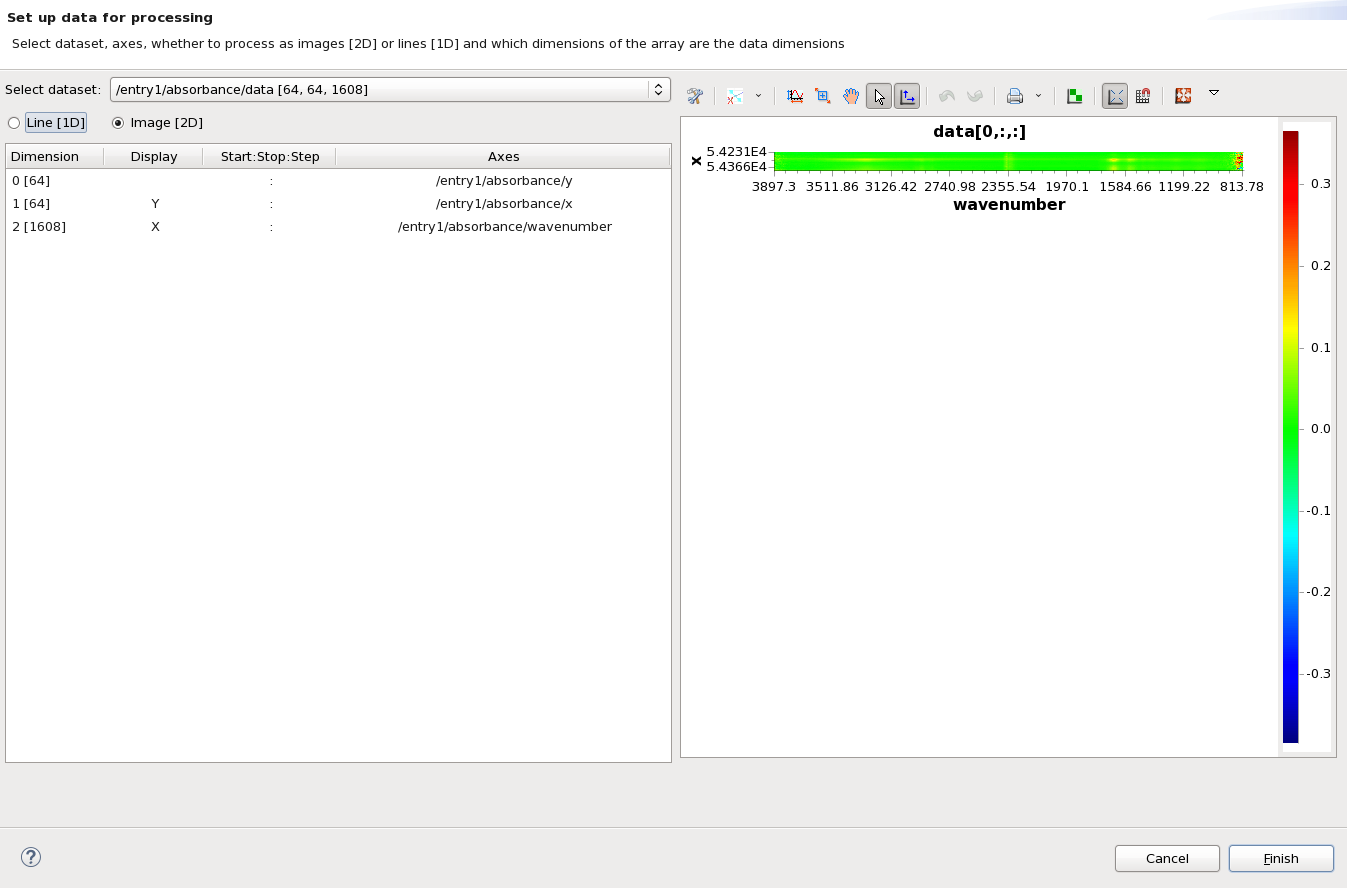
By default, the dataset /entry1/absorbance/data (which has shape [64,64,1608] - 64x64 pixel image at 1608 different wavelengths) has been selected. If it is not, use the Select dataset drop down box to select it.
The default mode for processing multidimensional dataset is as image [2D], using the last two dimensions as the image dimensions (this is the fastest way to iterate through the data).
To process this dataset as the cell image we need to change the display dimensions so that X and Y are set to dimension 0 and 1 (currently the image is wavenumber vs image x - i.e. a stack of spectra). Click in the Display cell for Dimension 0 [64] and select X from the drop down to show the 64x64 image (the order of X and Y - whether they are assigned to dimension 0 or 1 - doesn't matter, the processing loader will not transpose the dataset on load, it must be done as a processing step if required).
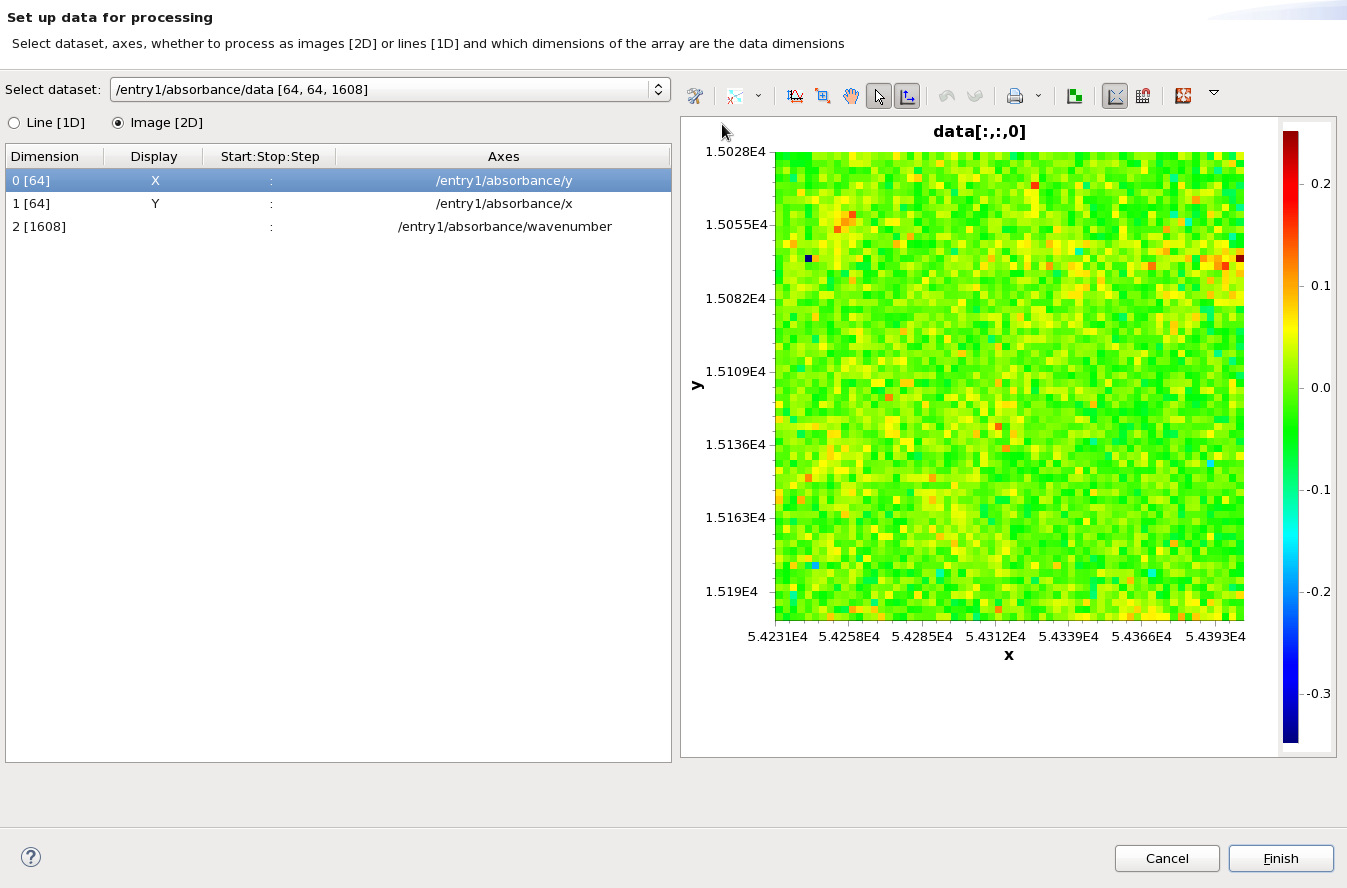
Pressing Finish will dismiss the setup dialog, and show the selected data, set up in the selected way, loaded in the processing perspective.
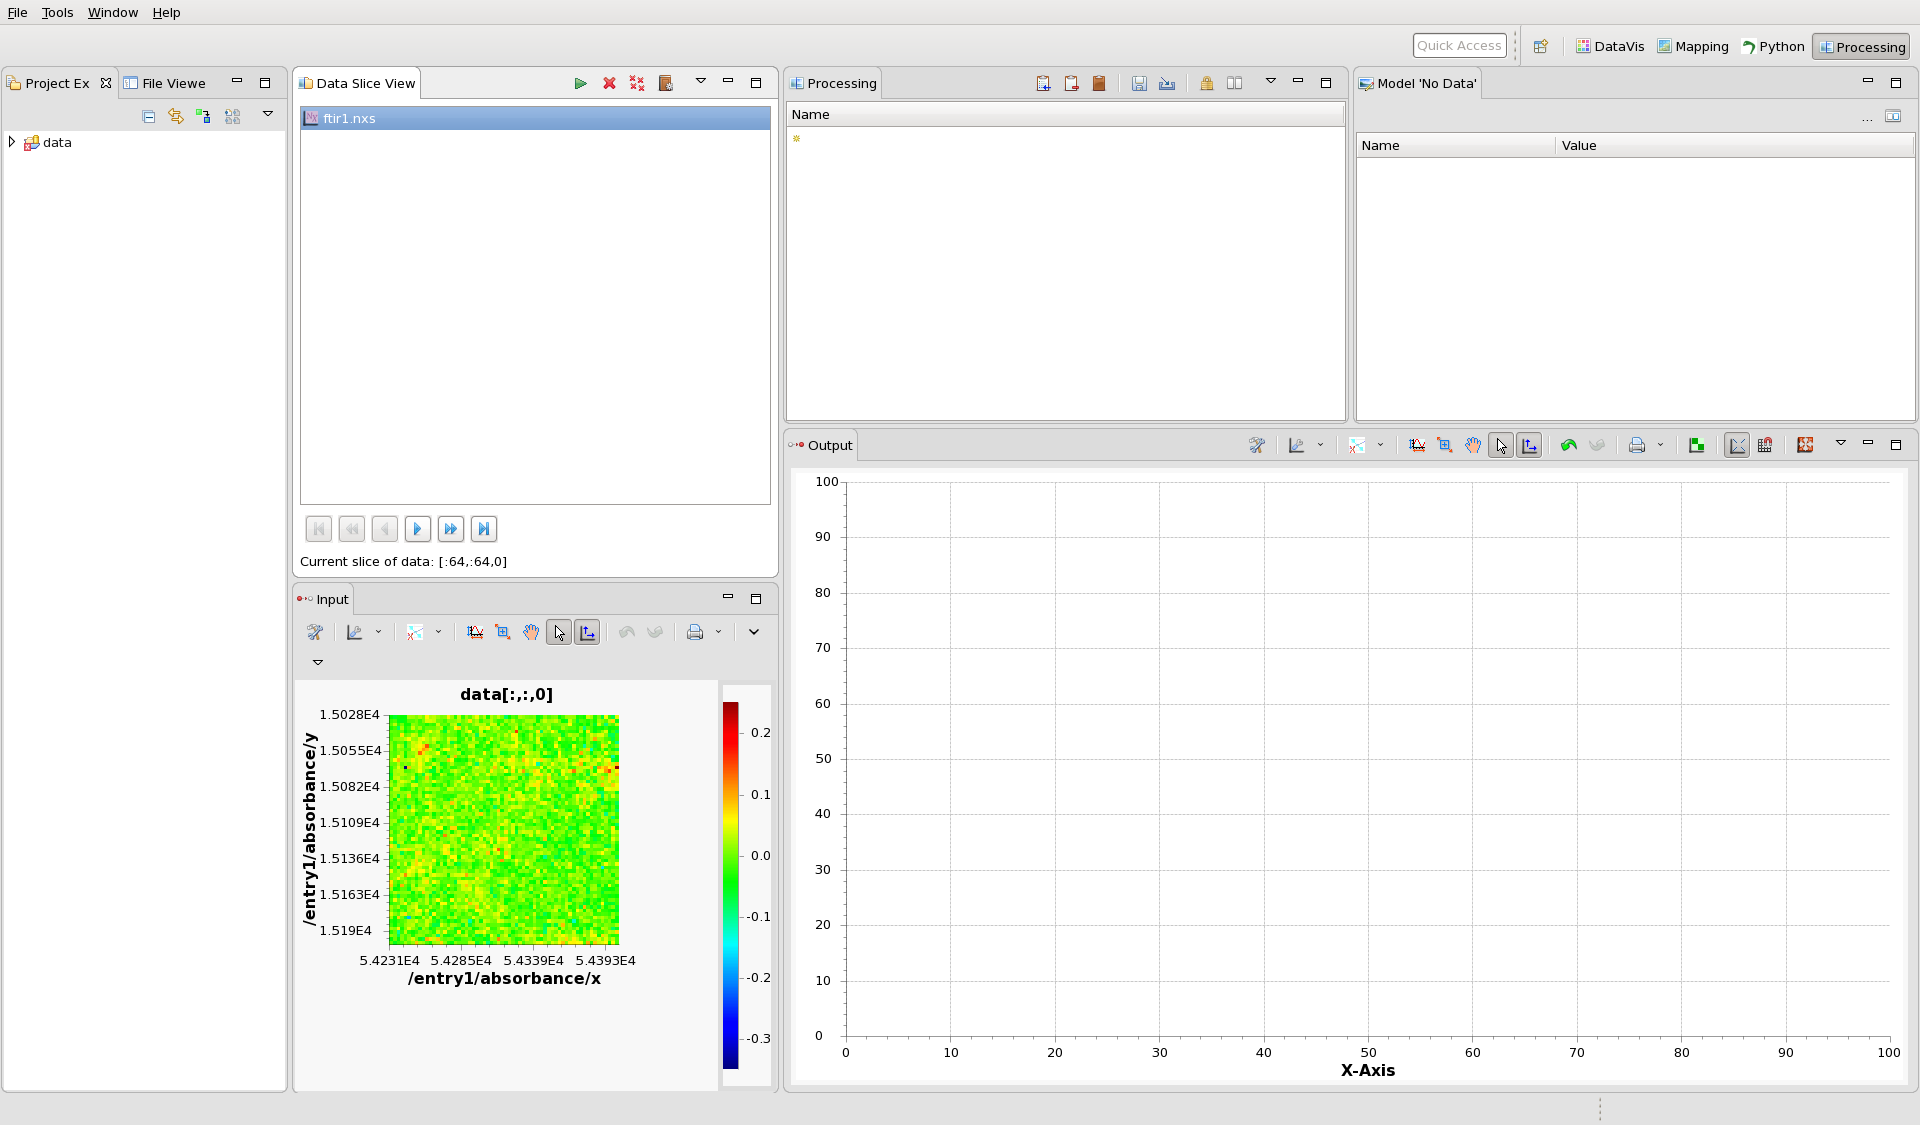
Notice the file name, ftir1.nxs in the Data Slice View. At the bottom of this view, the status label shows the current slice of the data, which in this case is [:64,:64,0] - meaning it is all the 64x64 pixels of the zeroth image (the first image in the stack). This is the image shown in the Input view plot. Using the play/fast forward/end buttons above this status bar, flick through the images in the stack, you should see clear individuals cells in the image at around frame 300.
The processing perspective takes this input image, passes it through the sequence of steps shown in the Processing view and displays the result in the Output view plot.
Currently the Processing list is empty so no data is plotted in the output.
Building a Processing Chain
In the the Processing view, click on the yellow star in the table. A drop-down will open showing all the processing steps available for images.
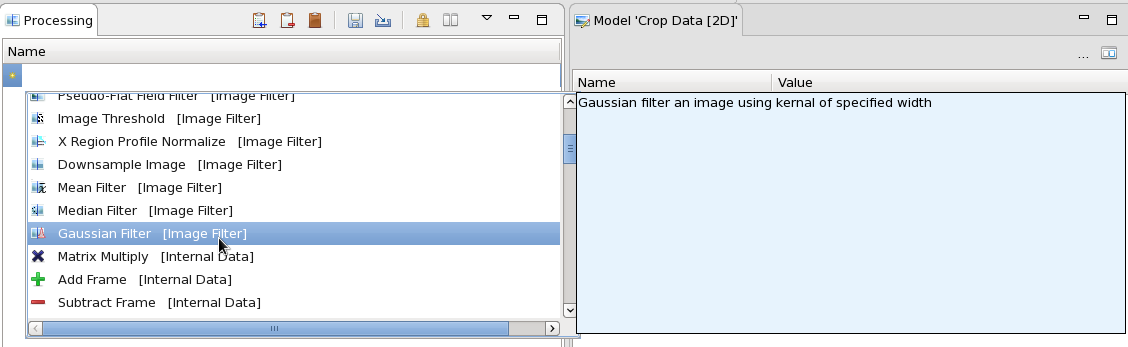
Selecting a processing step will show a description of what the step does.
The drop down is filterable. If you click on the start and type "Gau" all the processing steps except the Gaussian Filter will be removed from the list.