Versions Compared
Key
- This line was added.
- This line was removed.
- Formatting was changed.
 Image Added
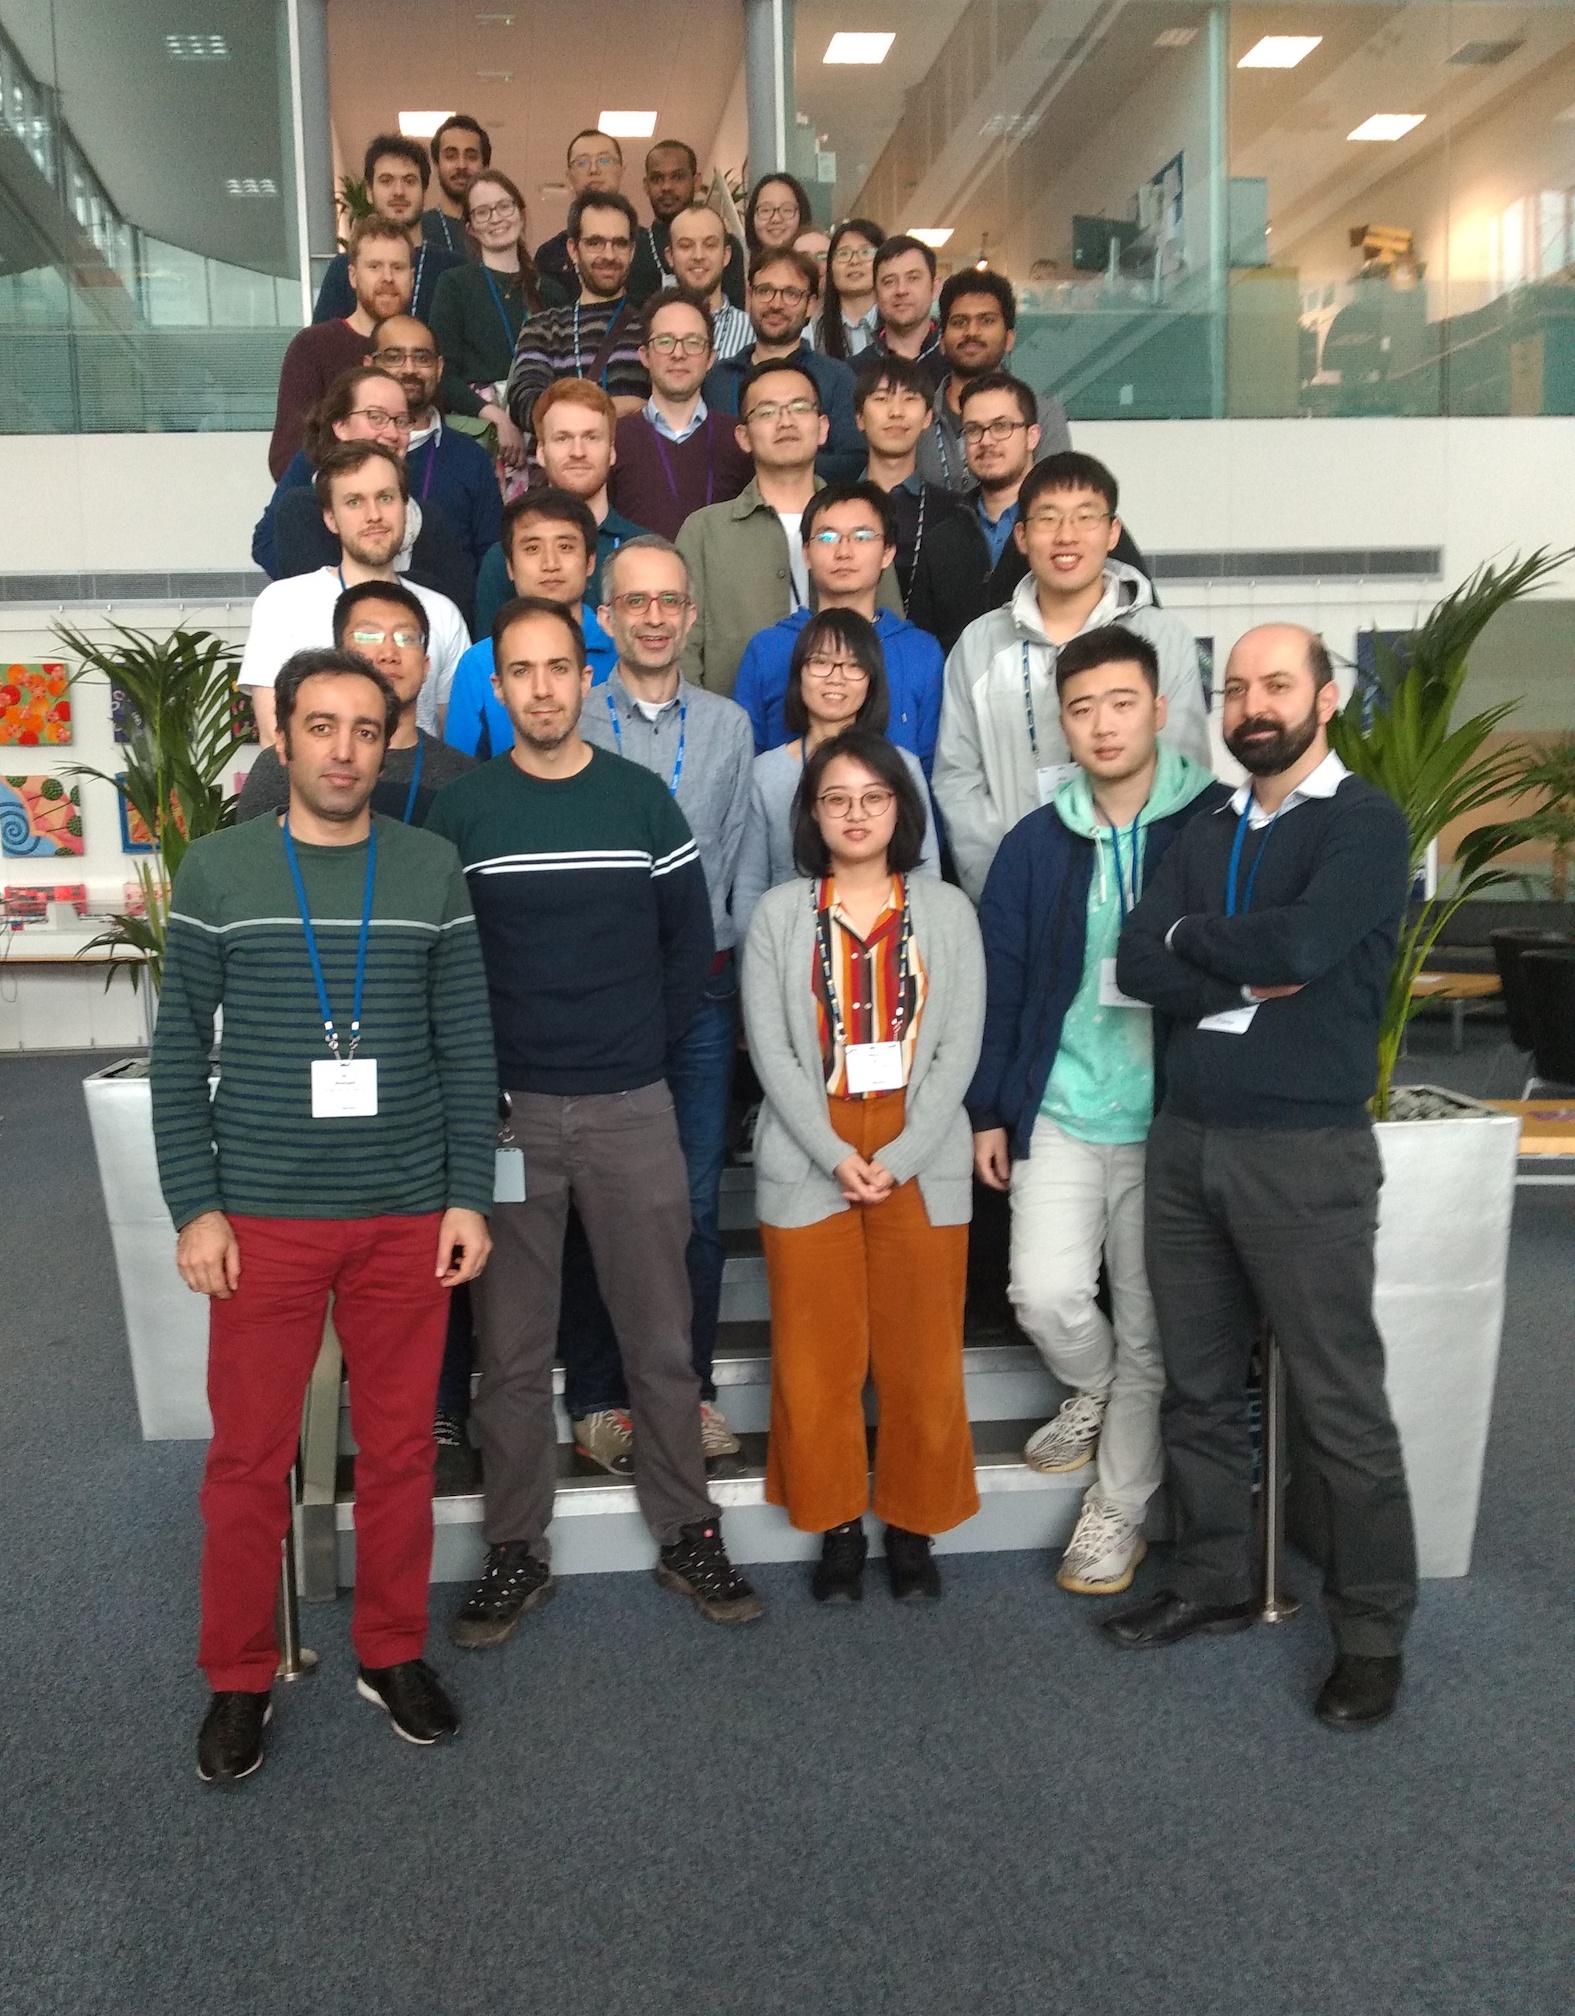
This workshop will take took place on Monday and Tuesday (March 2nd and 3rd) 2020 in Room G53/54 in Diamond House.
Speakers:
Duncan Johnstone (University of Cambridge)
Magnus Nord (EMAT, Antwerp)
Francisco de la Peña (University of Lille)
Eric Prestat (University of Manchester- SuperSTEM)
Paul Quinn (Diamond Light Source)
Thomas Slater (ePSIC - Diamond Light Source)
| Table of Contents |
|---|
Agenda
.jpg?version=1&modificationDate=1582732659230&cacheVersion=1&api=v2)
| View file | ||
|---|---|---|
|
Installation guide- Bundle installation
During the workshop we will have a Windows PC workstation workstations prepared with the packages installed packages and the example notebooks / datasets on disk. We do however encourage the participants to install these packages on their own laptops / workstations and acquaint themselves with the Jupyter Lab environment before the workshop to benefit the most form the presented material.
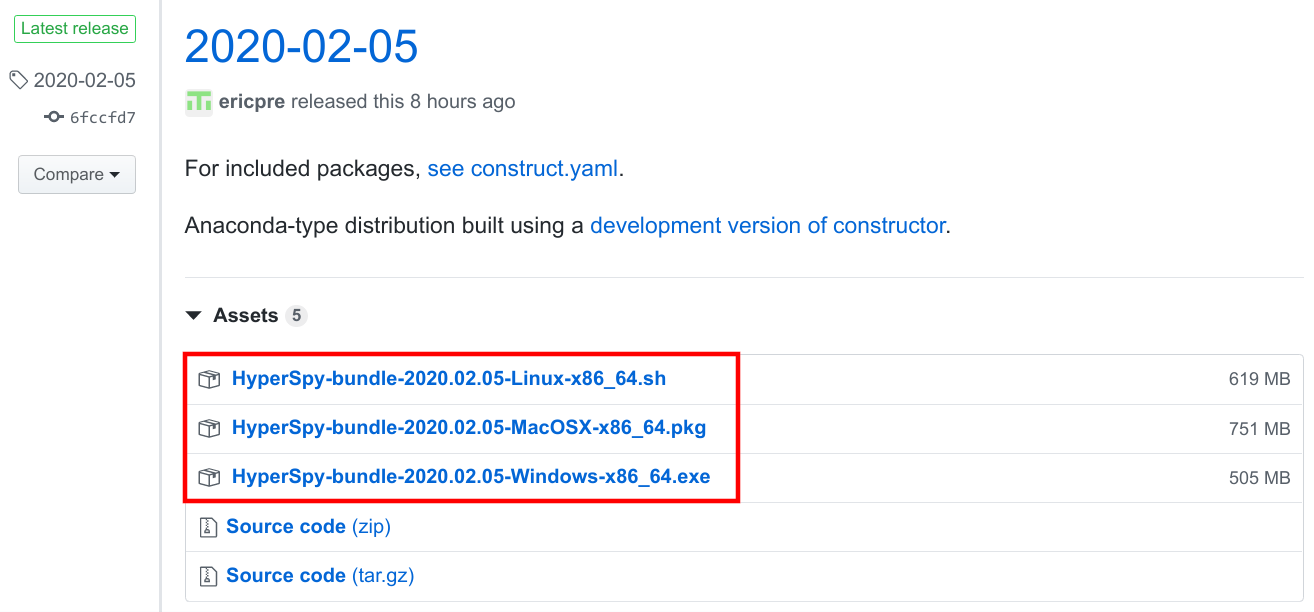
The easiest way to install hyperspy and other hyperspy extensions (pyxem and atomap) presented in the workshop is to install using the bundles here.
The detailed bundle installation instructions for Windows and MAC can be found through the provided links (courtesy of Eric Prestat).
ParticleSpy is not included in this bundle and should be installed separately following the instructions here.
For this year’s workshop we will be using the bundle above for the workshop workstations.
 Image Added
Installation guide- Conda installation
Having the installation done through this route allows you to have these packages updated independent of each other, in case there is a new release in future. The bundle install is a more rigid package but is guaranteed to work in one step, so it is simpler.
Please follow the steps below for the installation:
Install Python 3.7 from Anaconda
Open an Anaconda Prompt Terminal and create a new environment by running:
Code Block conda create --name hyperspy_env python=3.7
Activate the above environment by:
Code Block WINDOWS: activate hyperspy_env LINUX, macOS: source activate hyperspy_envInstall the packages by running the following commands:
Code Block conda install hyperspy -c conda-forge jupyter labextension install @jupyter-widgets/jupyterlab-manager conda install -c conda-forge pyxem conda install -c conda-forge atomap
ParticleSpy is not included in this bundle and should be installed separately following the instructions here.
To test your installation, from the same prompt, run:
| Code Block |
|---|
jupyter lab |
This would open a Jupyter Lab launcher in your web browser. Under Notebook select Python 3 button to open a new notebook. Copy this code to the first cell and run (press shift + enter). If the installation is correct you should not get any error messages.
| Code Block | ||
|---|---|---|
| ||
%matplotlib qt5
import hyperspy.api as hs
import pyxem as pxm
import atomap.api as am
import ParticleSpy.api as ps |
Workshop Notebooks and Presentations
We will gradually make the Jupyter Lab notebooks, example datasets and presentations available here for download.
Notebooks and Presentations
HyperSpy Talk
| View file | ||
|---|---|---|
|
getting started
notebook:
| View file | ||
|---|---|---|
|
talk:
| View file | ||
|---|---|---|
|
Introduction to Data Analysis
talk:
| View file | ||
|---|---|---|
|
Curve Fitting
notebook
| View file | ||
|---|---|---|
|
Machine Learning
| View file | ||
|---|---|---|
|
Big Data & Lazy Signals
| View file | ||
|---|---|---|
|
EELS Analysis
| View file | ||
|---|---|---|
|
EDX Data Analysis
| View file | ||
|---|---|---|
|
PyXem
| View file | ||
|---|---|---|
|
ParticleSpy
| View file | ||
|---|---|---|
|
HyperSpy Community
talk
| View file | ||
|---|---|---|
|