...
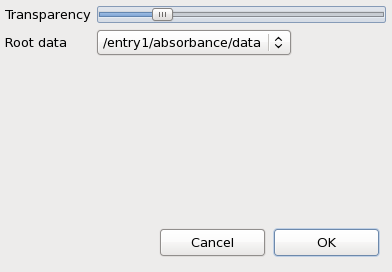
The transparency of map1 can be adjusted using the slider in the dialog.
![]()
Comparison Viewer
Us Use ctrl-click to select all four maps in the Mapped Data view tree (map1 and map2 from ftir1.nxs and ftir2.nxs). Right-click on one of the maps and select Comparison Viewer...
The Dialog that appears shows all the maps plotted at the same time in different subplots, and is a quick way to look at multiple maps from multiple files without loading them into the main Map plot.

RGB Mixer
The RGB mixer allows maps to be used as Red, Blue and Green channels in a "fluorescence-style" blended false colour image.
This time just select map1 and map2 from ftir1.nxs, right-click and select RGB Mixer...
...
Clicking OK adds an additional map to the ftir1.nxs tree, which is this new combined image. It can be added to the main Map plot by double-clicking, in the same way as the other maps.

Files Containing Multiple Data Blocks
In the supplied example data there has only been one data block that the maps relate to - the FTIR absorbance spectrum. It is very common for their to be more than one data block associated with a map. For example, a map generated using a 2D diffraction detector might want to display the raw detector image, or the reduced 1D powder diffraction pattern. If a file contains multiple possible parent data blocks for the maps it is possible to select which block should be seen when clicking on a map by using the Root data drop-down box on the Properties dialog.
Appendix
File Requirements
...