/
2D Powder Diffraction Image Calibration Quick Start!
2D Powder Diffraction Image Calibration Quick Start!
Quick Start!
A quick guide for the automatic calibration when the standard images have the beam centre and multiple complete ring on the image.
Start DAWN
module load dawn, followed by dawn on a Diamond Linux machine, double click on the dawn.exe for windows
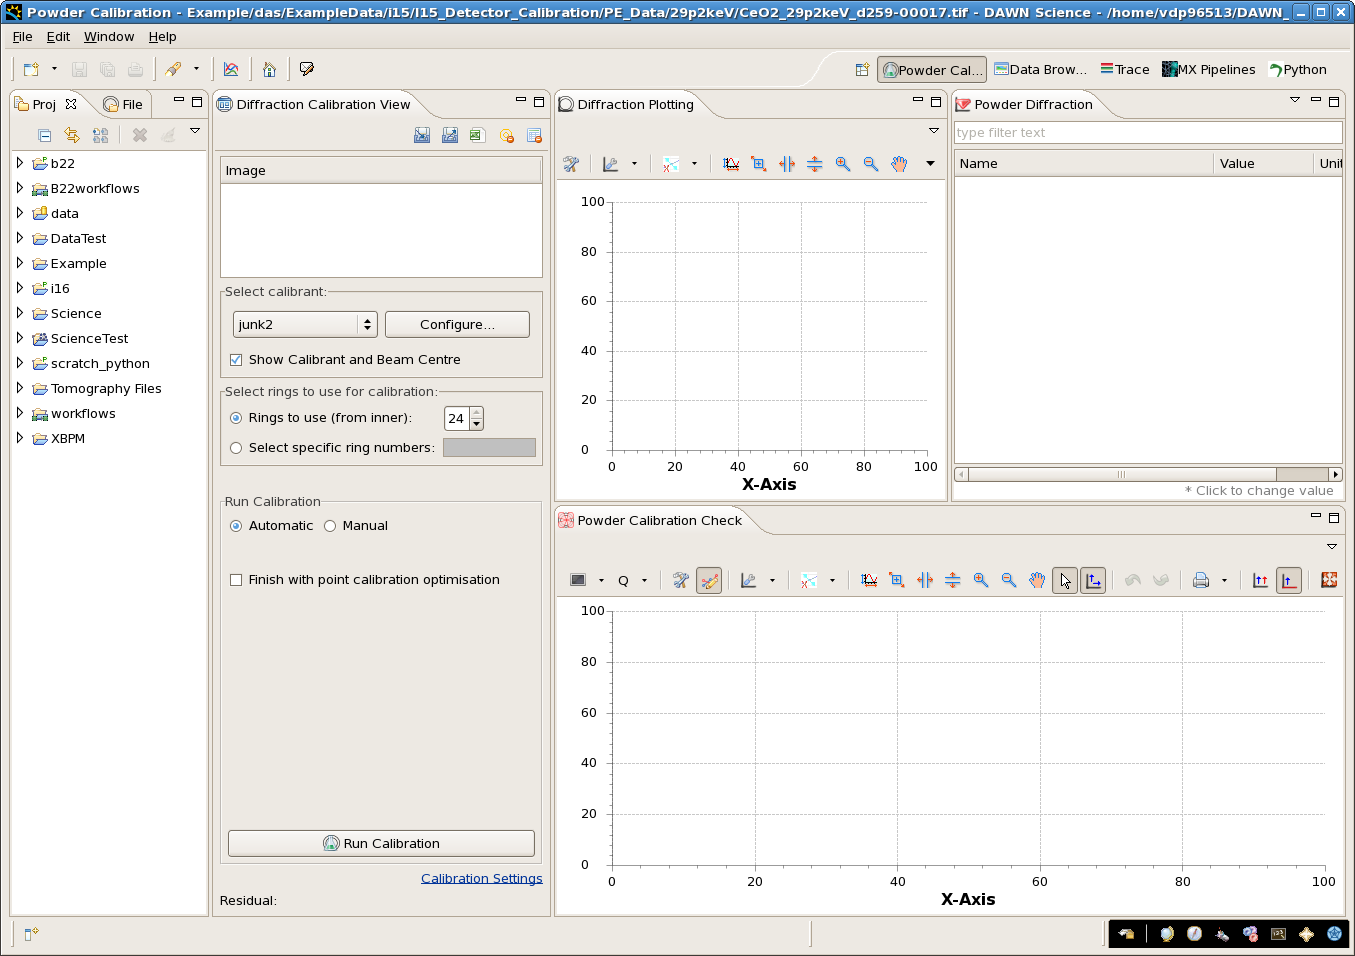
- Navigate to the Powder Diffraction Calibration perspective
- either go to the welcome screen, click Perspectives, then select Powder Diffraction Calibration perspective
- or from the Window menu, select Open Perspective, Other..., then select Powder Diffraction Calibration perspective
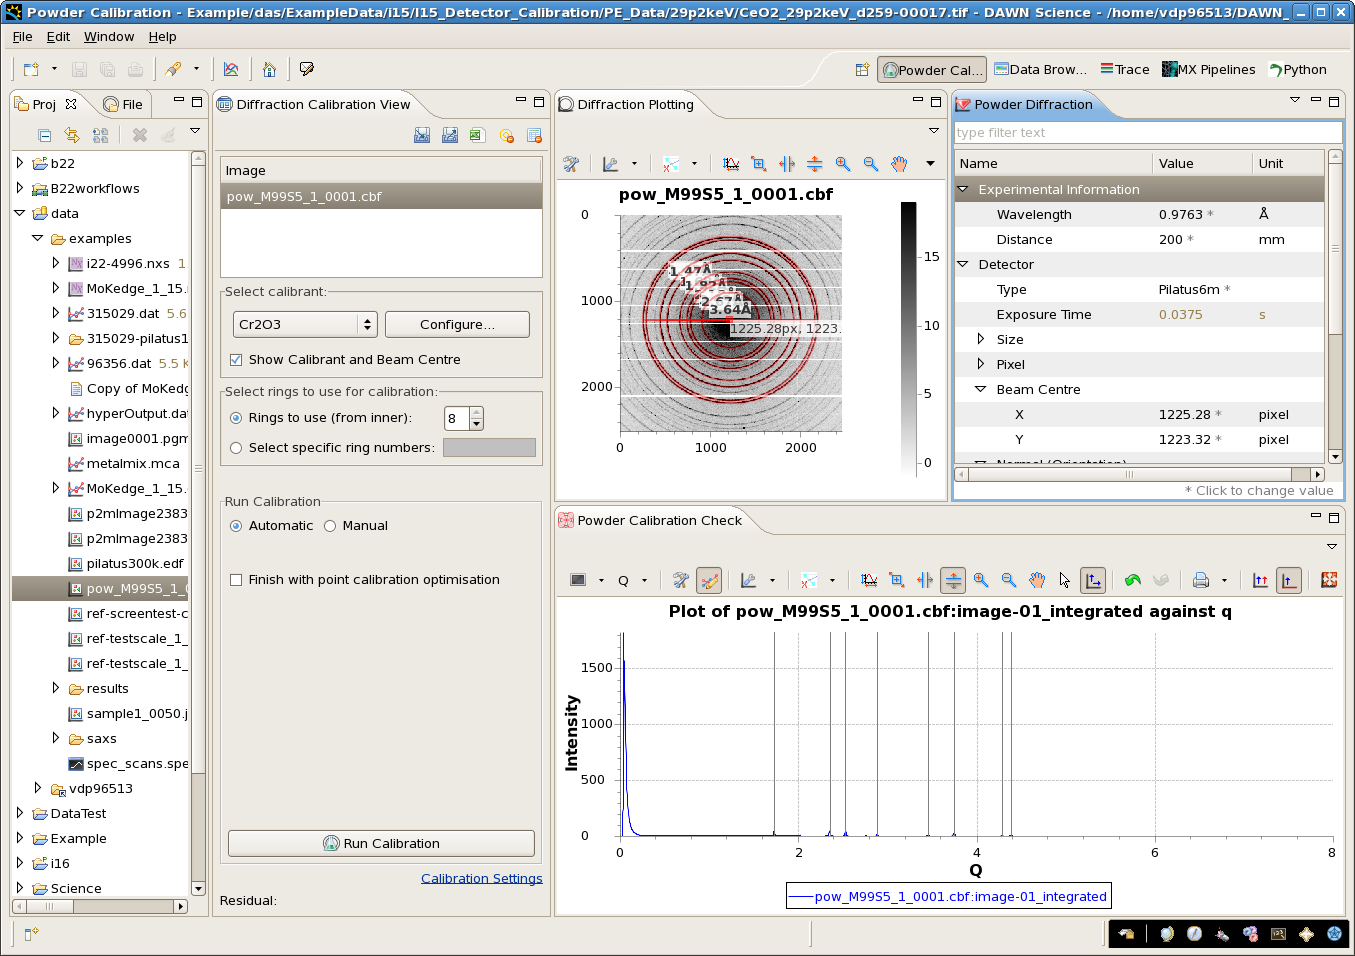
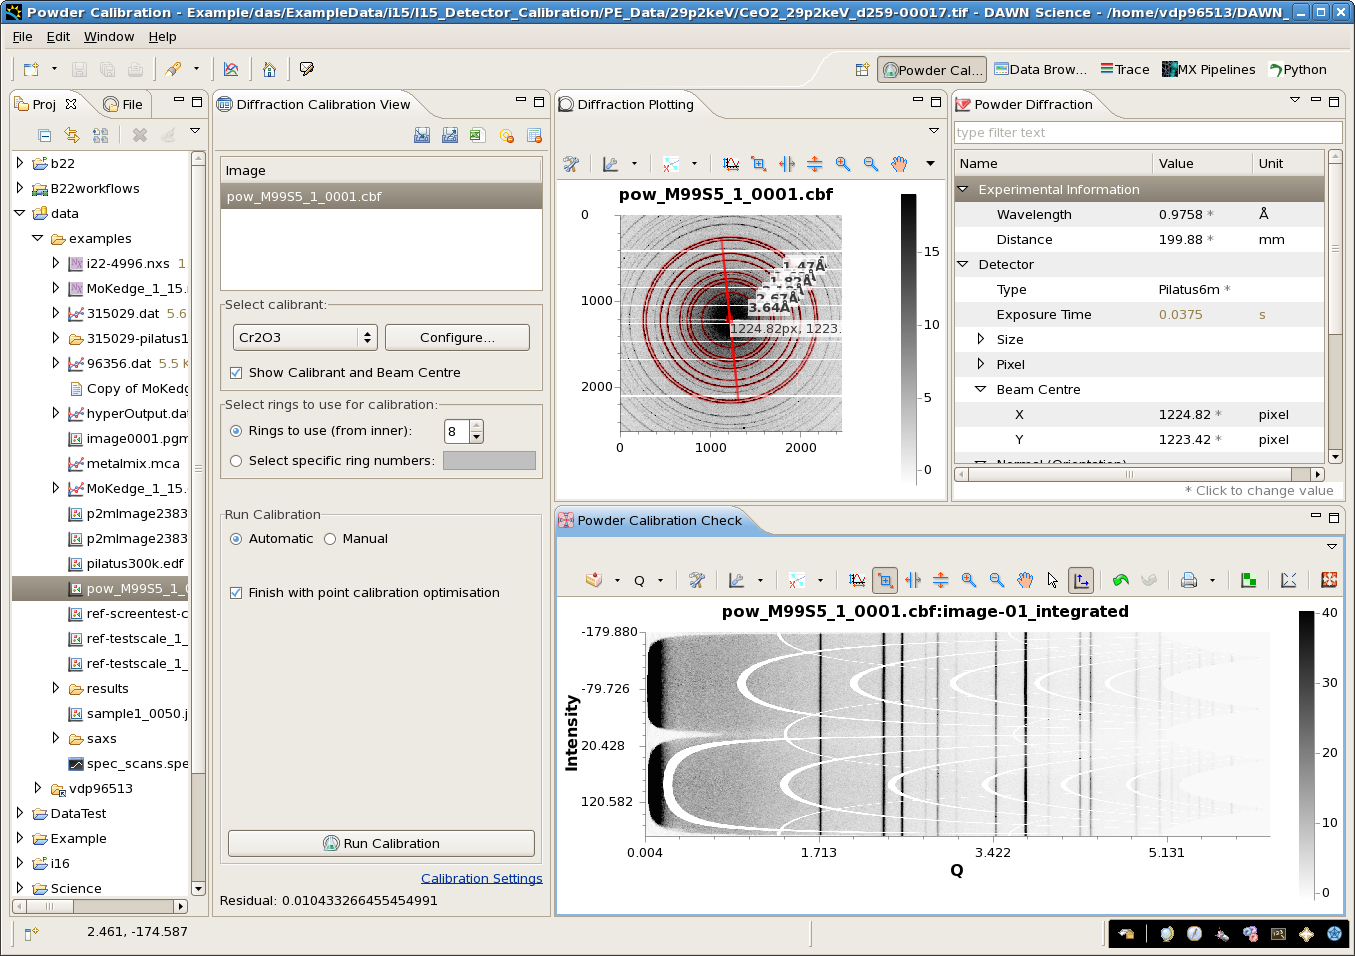
- Open your data (or use pow_M99S5_1_0001.cbf in the example data)
- Either Use File - Open Powder File...
- Or Double click on the file in the Project Explorer or the File Navigator
- or Drag the file from the Project Explorer, File Navigator or operating system explorer into the table on the Diffraction Calibration View
- NOTE A: if you have multiple datasets in a NeXus file a dialog will appear to let you select the standard image
- NOTE B: if you file contains diffraction metadata (.cbf or NeXus - energy, distance, beam centre etc) this will be loaded with the image
- Select Calibrant from drop down box (Cr2O3 for pow_M99S5_1_0001.cbf)
- or Configure... if not there - see section on configuring a new calibrant
- Select number of rings to use for the calibration
- Either enter a maximum number from the inner most reflection
- or a comma separated list of specific ring numbers (i.e. 1,2,3,5,6,7 to skip the 4th ring)
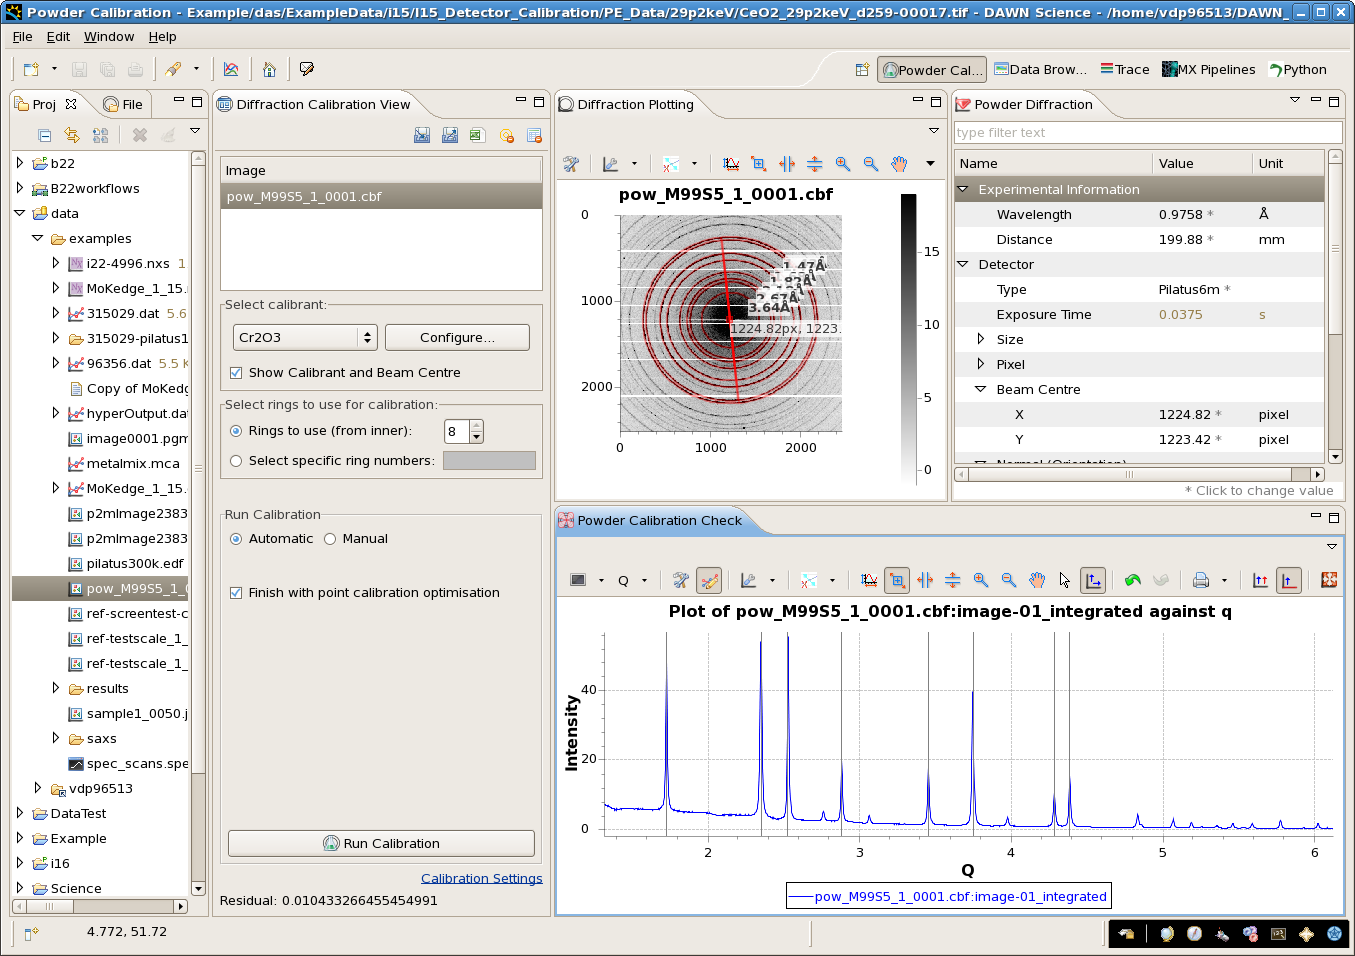
- Make sure Automatic is selected and check Finish with point calibration optimisation (see section on different calibration routines)
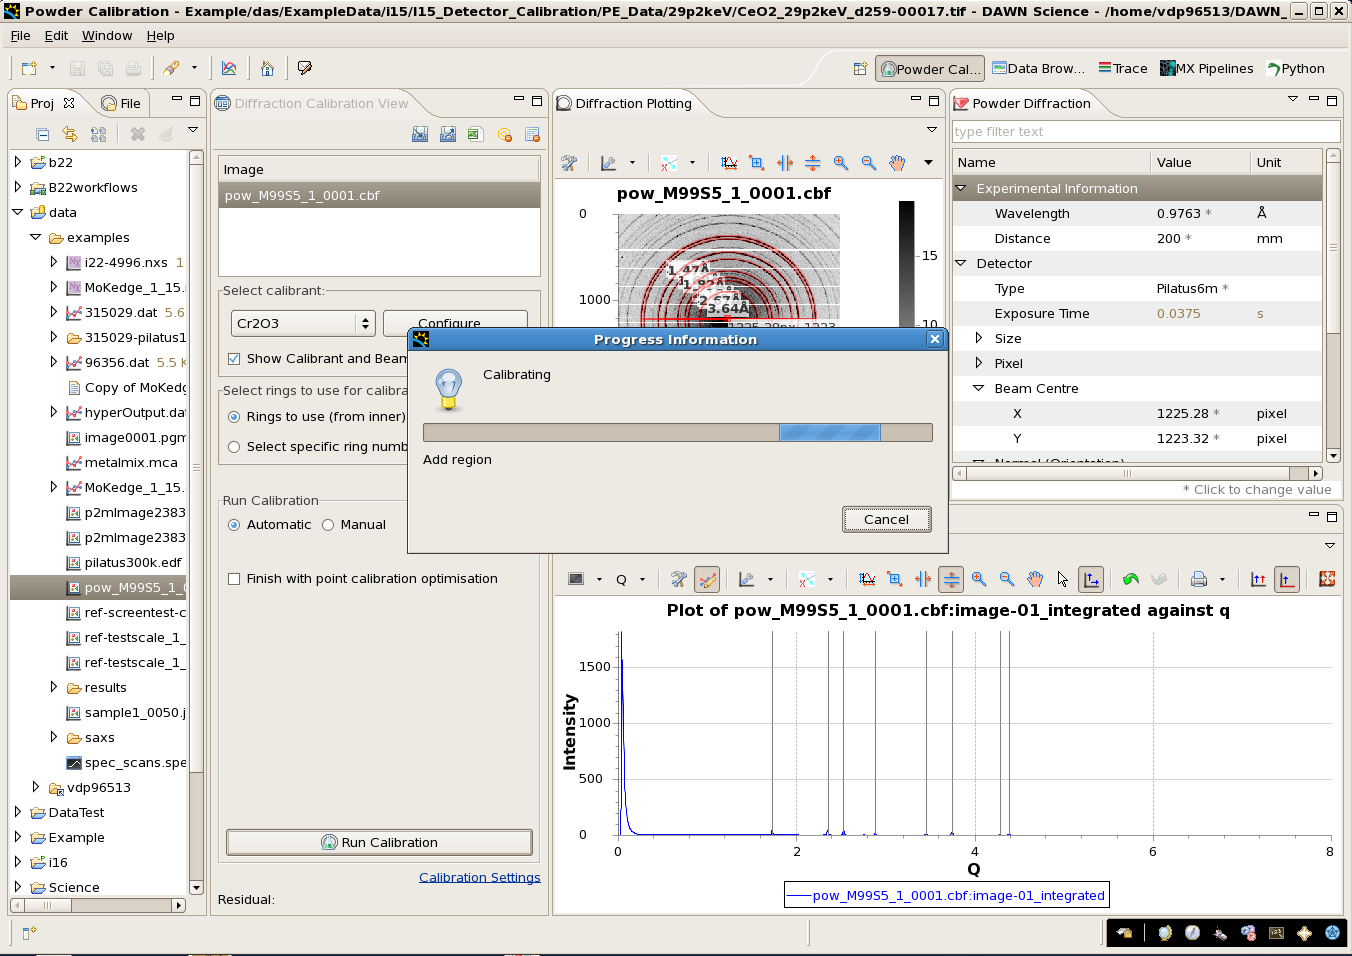
- Click Run Calibration
- A dialog will appear showing the progress of the calibration, yellow selection regions should appear as the rings are detected
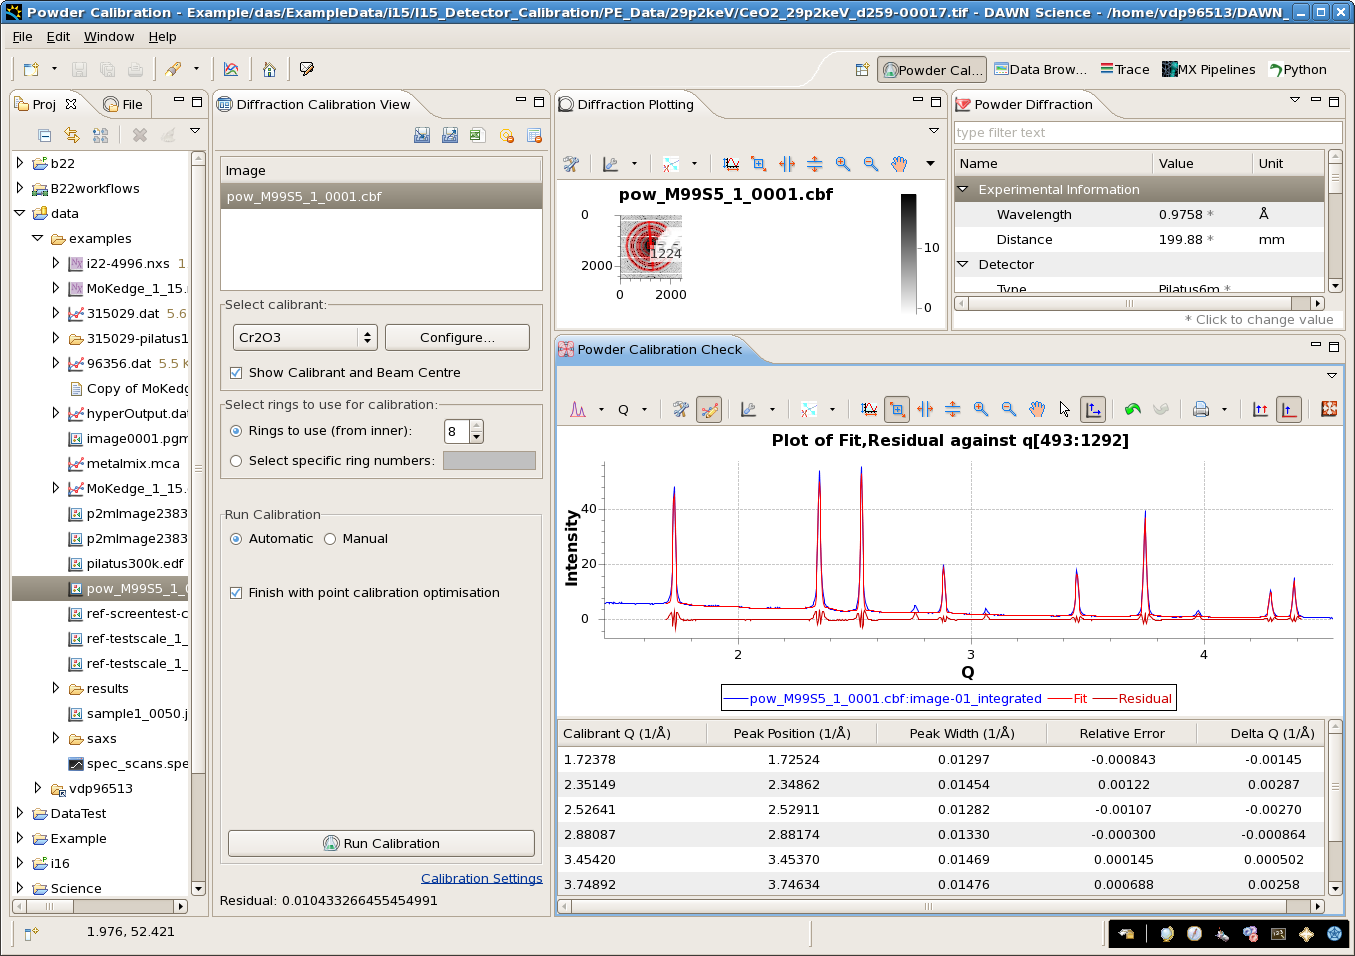
- When the calibration completes the dialog will vanish, the red calibration standard rings should now overlap the rings on the image., the Powder Diffraction View will be updated with the new metadata and the Powder Calibration Check View will display the reduced data with lines to mark the standard positions (zooming may be required on the Powder Check plot if the intensity around the beam stop is strong)
- Calibration is now complete, use the different actions on the Powder Calibration Check to see how good the calibration is
- The calibration results can now be save to HDF5 for use in DAWN or to .csv for use with other data reduction programs such as pyFAI or Fit2D (see section on using calibration results in pyFAI or Fit2D)
, multiple selections available,
